Dental Implant Recovery: Your Complete Healing Timeline and Aftercare Guide
Congratulations on taking the first step toward restoring your smile with dental implants! At B-You Dentistry, your trusted dentist in Suwanee, GA, we understand that while getting dental implants is an exciting decision, the recovery process can feel overwhelming if you don’t know what to expect. Understanding the healing timeline, knowing what’s normal, and following proper aftercare instructions are crucial for successful implant integration and long-term success.
Dental implant recovery is a gradual process that varies from person to person, but most patients experience predictable stages of healing. The good news is that with proper care and following your dentist’s instructions, the vast majority of patients heal smoothly and enjoy their new teeth for decades. This comprehensive guide walks you through every stage of dental implant recovery, from the first 24 hours after surgery through complete osseointegration, providing practical tips and answering common questions to help you heal comfortably and successfully.
Whether you’ve just had your implant placed or are preparing for surgery, understanding what to expect during recovery helps reduce anxiety, ensures you’re prepared with everything you need, and gives you the knowledge to recognize normal healing versus situations that need professional attention. Let’s explore the complete dental implant recovery journey so you can approach your healing with confidence.
Understanding the Dental Implant Healing Process
Before diving into specific recovery stages, it’s helpful to understand what happens inside your jawbone during dental implant healing.
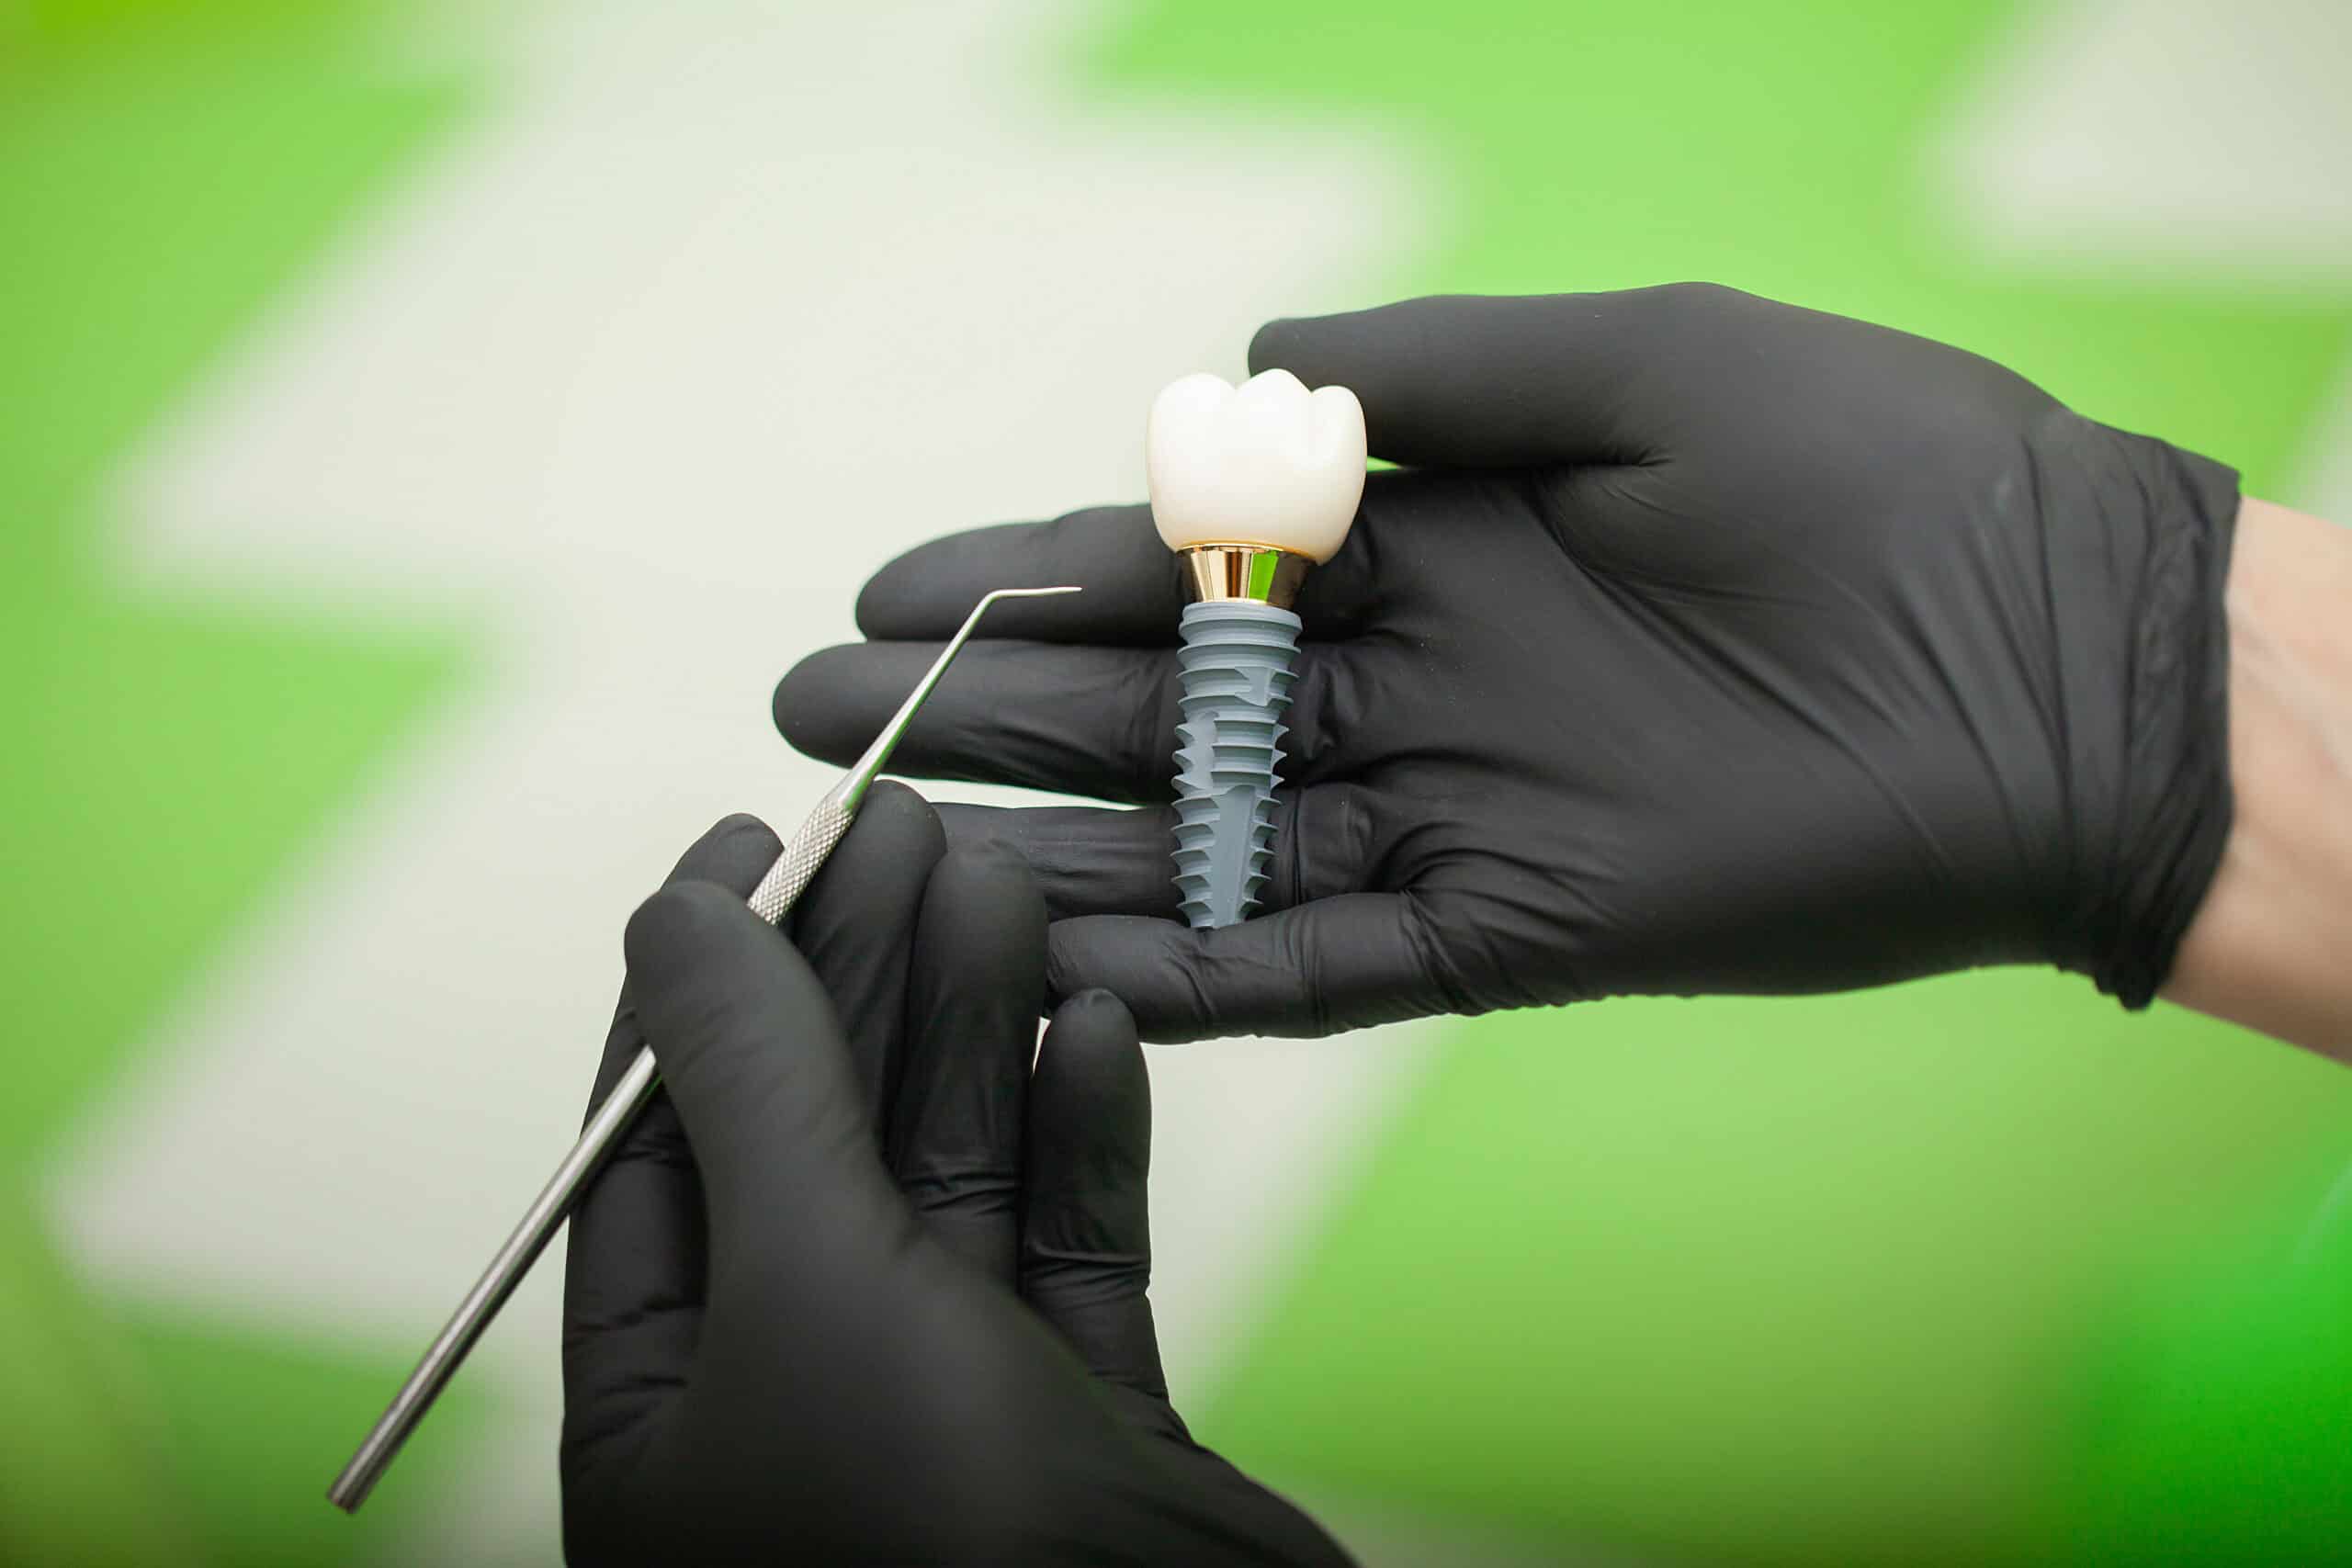
What Is Osseointegration?
The Foundation of Implant Success: Osseointegration is the biological process where your jawbone grows around and fuses with the titanium implant post, creating a stable foundation for your replacement tooth.
How It Works:
- Bone cells recognize titanium: Your body accepts the biocompatible implant material
- New bone formation: Bone cells multiply and attach to the implant surface
- Gradual integration: Over weeks and months, bone density increases around the implant
- Complete fusion: Eventually, the implant becomes as stable as a natural tooth root
- Permanent foundation: This creates the strength needed to support chewing forces
Timeline: Complete osseointegration typically takes three to six months, though initial stability begins within the first few weeks.
Factors Affecting Your Recovery
Individual Variables: Recovery speed and experience vary based on several factors your dentist in Suwanee, GA evaluates before surgery.
Key Factors Include:
- Bone quality and density: Denser bone integrates more quickly
- Location of implant: Front teeth often heal faster than back teeth
- Number of implants: Multiple implants may extend recovery slightly
- Overall health: Good health accelerates healing
- Age: Younger patients often heal slightly faster, but age alone doesn’t prevent success
- Lifestyle habits: Smoking significantly delays healing; good nutrition supports it
- Oral hygiene: Excellent care prevents complications and supports healing
Optimizing Your Recovery: While some factors are beyond your control, following aftercare instructions carefully, maintaining excellent oral hygiene, eating properly, avoiding smoking, and attending follow-up appointments all significantly improve your healing experience.
First 24 Hours After Dental Implant Surgery
The first day after implant placement is crucial for setting the foundation for successful healing.
Immediate Post-Surgery Care
What to Expect: Immediately after your procedure, you’ll still be numb from anesthesia, which typically lasts two to four hours.
During Numbness:
- Avoid eating: Wait until numbness wears off completely to prevent biting your cheek or tongue
- No hot beverages: Can’t feel temperature and might burn yourself
- Keep gauze in place: Bite gently on gauze to control bleeding
- No testing the implant: Resist urge to touch or probe with tongue or fingers
- Stay upright: Avoid lying flat immediately; recline with head elevated
First Hour Home:
- Rest quietly in a comfortable position
- Have someone available to help if needed
- Keep ice pack ready to apply
- Have prescribed medications accessible
- Keep emergency contact information handy
Managing Bleeding
Normal Bleeding: Some bleeding and oozing for the first 24 hours is completely normal and expected.
How to Control Bleeding:
- Gauze pressure: Bite firmly on clean gauze for 30-45 minutes
- Replace as needed: If bleeding continues, use fresh gauze
- Stay calm: Anxiety can increase blood pressure and bleeding
- Avoid spitting: This dislodges clots; let saliva drool into a cup if needed
- No rinsing: For the first 24 hours, avoid rinsing which disturbs clots
- Head elevation: Keep head elevated above heart level
When to Contact Your Dentist:
- Heavy, continuous bleeding after several hours
- Bleeding that doesn’t slow with pressure
- Large blood clots repeatedly forming and dislodging
Swelling and Discomfort Management
Expected Swelling: Swelling is a normal inflammatory response and typically peaks 48-72 hours after surgery.
Ice Application Technique:
- First 24-48 hours: Apply ice packs for maximum effectiveness
- 20 minutes on, 20 minutes off: Don’t apply continuously
- Gentle pressure only: No hard pressing against face
- Protect skin: Use cloth barrier between ice and skin
- Both sides if needed: If you had implants on both sides
Pain Management: Your dentist in Suwanee, GA will prescribe or recommend appropriate pain medication.
Medication Guidelines:
- Take pain medication as prescribed before numbness wears off
- Don’t wait for severe pain to take medication
- Take with food if medication causes stomach upset
- Set phone reminders for medication timing
- Have someone help track medication if you’re groggy
- Avoid aspirin unless specifically instructed (can increase bleeding)
Days 2-7: The Critical First Week
The first week is the most important period for establishing healthy healing patterns.
What’s Normal During Week One
Expected Experiences: Understanding what’s normal helps you avoid unnecessary worry.
Normal Symptoms:
- Swelling: Peaks around day 3, then gradually subsides
- Bruising: May appear day 3-4, especially in lower jaw implants
- Discoloration: Yellowing or purple bruising is normal healing
- Mild discomfort: Should be manageable with prescribed medication
- Stiffness: Jaw stiffness when opening mouth is common
- Fatigue: Your body is using energy to heal; extra rest is normal
Improvement Timeline: Most patients notice significant improvement by day 5-7, with swelling decreasing, pain reducing, and energy returning.
Oral Hygiene During Initial Recovery
Modified Cleaning Routine: Keeping your mouth clean is crucial, but you must be gentle around the surgical site.
Days 2-7 Hygiene:
- Gentle brushing: Brush non-surgical areas normally
- Avoid implant site: Don’t brush directly on or near the implant for first week
- Saltwater rinses: Begin gentle rinsing after first 24 hours (¼ teaspoon salt in warm water)
- No vigorous swishing: Let rinse gently move around mouth
- After meals: Rinse gently to remove food particles
- Before bed: Always rinse before sleeping
Rinsing Technique: Don’t swish vigorously. Instead, tilt your head side to side, allowing the saltwater to gently move across the surgical site without creating suction or pressure.
Dietary Guidelines for Week One
Soft Food Diet: Proper nutrition supports healing while protecting your implant site.
Recommended Foods:
- Protein smoothies: Support healing with added protein powder
- Yogurt and soft cheeses: Easy to eat, nutritious
- Mashed potatoes: Filling and require no chewing
- Scrambled eggs: Soft protein source
- Oatmeal and cream of wheat: Warm, easy, nutritious
- Applesauce and soft fruits: Vitamins without chewing
- Protein shakes: Convenient nutrition
- Soup (lukewarm): Not hot, which can irritate healing tissue
Foods to Avoid:
- Hard, crunchy foods: Chips, nuts, raw vegetables
- Chewy foods: Tough meats, bagels, gummy candies
- Hot foods and beverages: Can increase bleeding and discomfort
- Spicy foods: May irritate surgical site
- Seeds and grains: Can lodge in healing area
- Sticky foods: Can pull on healing tissue
- Alcohol: Interferes with healing and medication
Eating Tips: Chew on the opposite side of your mouth from the implant site, take small bites, eat slowly, and stay well-hydrated with room temperature water throughout the day.
Weeks 2-4: Transitioning to Normal Activities
After the critical first week, healing accelerates and you can gradually return to normal activities.
Expanding Your Diet
Gradual Progression: As discomfort decreases and healing progresses, slowly reintroduce regular foods.
Week 2-3 Food Additions:
- Soft pasta: Well-cooked, easy to chew
- Tender fish: Flaky, soft texture
- Cooked vegetables: Soft, not crunchy
- Soft breads: Avoid crusty or chewy varieties
- Ground meat: If well-cooked and tender
- Soft fruits: Bananas, melons, soft berries
Gradual Chewing: Start with very soft foods that require minimal chewing, then progress slowly. Listen to your body and don’t rush reintroducing hard or chewy foods.
Still Avoiding: Continue avoiding very hard, crunchy, or sticky foods for several more weeks. Your dentist will tell you when you can resume completely normal eating.
Returning to Physical Activity
Activity Guidelines: Physical exertion can affect healing, so reintroduce exercise gradually.
First 48 Hours: Complete rest with minimal physical activity.
Days 3-7: Light walking only, no strenuous exercise.
Week 2:
- Light exercise may resume if healing well
- Avoid heavy lifting
- No contact sports
- Monitor for increased swelling or discomfort
Week 3-4: Gradually return to normal exercise routine based on how you feel and your dentist’s guidance.
Warning Signs: If exercise causes renewed bleeding, significant swelling, or throbbing pain, you’re doing too much too soon. Stop activity and contact your dentist.
Follow-Up Appointments
Why They Matter: Follow-up visits allow your dentist in Suwanee, GA to monitor healing and address any concerns early.
Typical Schedule:
- 1-2 weeks post-surgery: Check healing progress, remove stitches if non-dissolvable
- 4-6 weeks: Evaluate osseointegration beginning
- 3-4 months: Assess whether implant is ready for crown placement
What Your Dentist Checks:
- Healing of gum tissue
- Signs of infection
- Implant stability
- Your comfort level
- Oral hygiene around implant
- When to proceed to next phase
Never Skip Appointments: These visits are crucial for catching potential problems early when they’re easiest to address.
Months 2-6: Osseointegration Period
During these months, the real magic happens inside your jawbone.
What’s Happening During This Phase
Bone Integration: While you may feel completely healed externally, internal integration continues for several months.
Progressive Stability: Week by week, bone cells multiply and attach more firmly to the implant surface, increasing stability and strength.
No Visible Changes: You won’t see or feel dramatic day-to-day changes, but the implant is becoming increasingly secure in your jawbone.
Timeline Variations: Upper jaw implants often take slightly longer (4-6 months) than lower jaw implants (3-4 months) due to bone density differences.
Living with Your Temporary Solution
During Healing: Most patients receive a temporary tooth or continue with existing dentures modified to avoid the implant site.
Temporary Tooth Care:
- Don’t use for chewing: Temporary restorations aren’t meant for full chewing forces
- Gentle cleaning: Clean around temporary carefully
- Report problems: If temporary becomes loose or uncomfortable, contact your dentist
- Be patient: Temporary is just a placeholder for appearance
Implant Site Care: Continue excellent oral hygiene around the implant site, brush gently, use water flosser if recommended, and maintain regular dental cleanings.
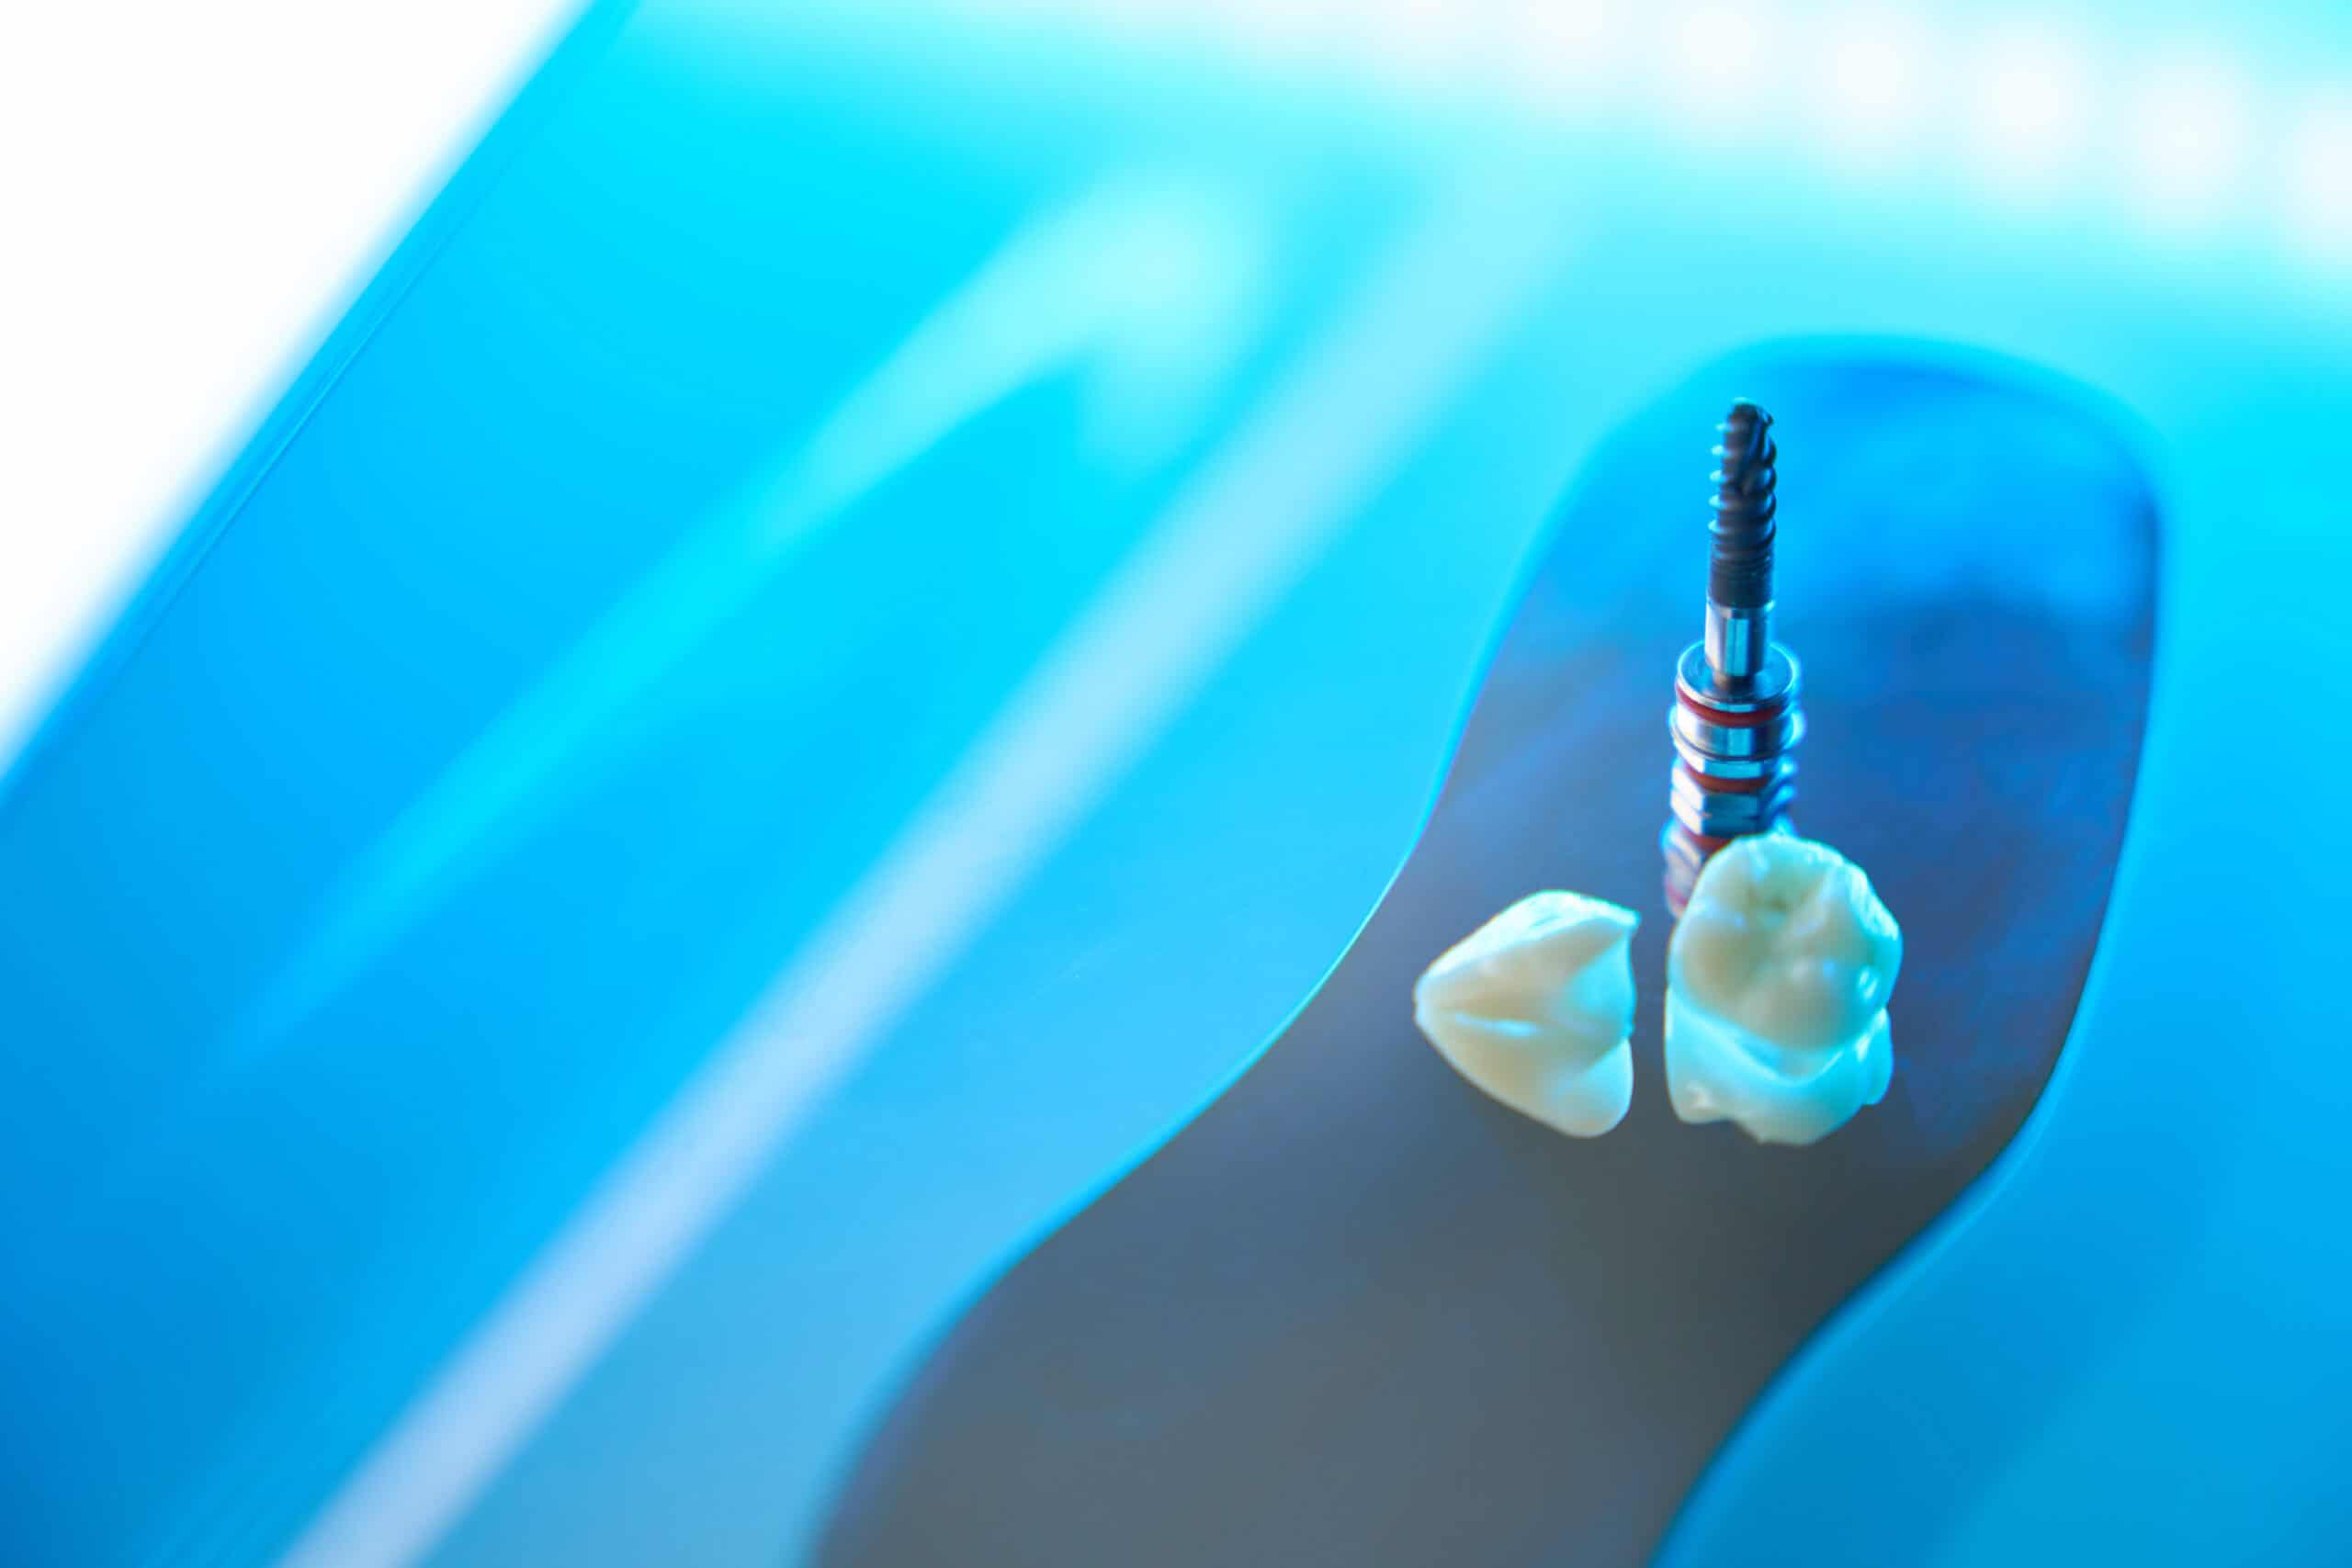
When to Expect Your Permanent Crown
Assessment Appointment: Around month 3-4, your dentist evaluates whether osseointegration is complete enough for crown placement.
Tests for Readiness:
- Stability testing: Checking that implant doesn’t move
- X-rays: Evaluating bone integration
- Healing assessment: Ensuring gum tissue is healthy
Crown Placement Process: Once ready, you’ll return for crown impressions, shade matching, and finally crown placement, completing your dental implant restoration.
Long-Term Care After Complete Healing
Once fully healed and your crown is placed, long-term care ensures your implant lasts a lifetime.
Daily Implant Maintenance
Home Care Routine: Caring for your implant is similar to caring for natural teeth but requires some special attention.
Daily Care:
- Brush twice daily: Use soft-bristled toothbrush
- Floss carefully: Use unwaxed floss or implant-specific floss
- Water flosser: Excellent for cleaning around implant crown
- Avoid abrasives: No harsh whitening toothpastes on implant
- Regular technique: Clean all surfaces thoroughly
Special Considerations: The junction where crown meets gum requires particular attention to prevent plaque buildup and maintain gum health around the implant.
Professional Maintenance
Regular Checkups: Professional monitoring ensures your implant stays healthy long-term.
Recommended Schedule:
- Dental cleanings every 6 months
- Implant-specific assessments annually
- X-rays as recommended to monitor bone levels
Professional Cleaning: Hygienists use special tools designed for implants that won’t scratch or damage the crown or implant surface.
Protecting Your Investment
Lifestyle Considerations: Certain habits can affect implant longevity.
Protect Your Implant:
- No smoking: Significantly reduces implant success rates
- Nightguard if needed: If you grind teeth, protect implant with custom nightguard
- Avoid very hard foods: Don’t bite ice, hard candies, or other extreme forces
- Sports protection: Wear mouthguard during contact sports
- Address problems promptly: Contact dentist if crown becomes loose or uncomfortable
Recognizing and Addressing Complications
While complications are rare, knowing warning signs ensures quick intervention if needed.
Signs of Infection
Early Detection: Most infections respond well to treatment if caught early.
Warning Signs:
- Increasing pain: Pain that worsens instead of improving
- Fever: Temperature over 100.4°F
- Pus or discharge: Yellow or white drainage from implant site
- Bad taste: Persistent foul taste in mouth
- Swelling that returns: Swelling that increases after initially decreasing
- Red, hot tissue: Inflamed tissue around implant
Immediate Action: Contact your dentist in Suwanee, GA immediately if you notice these symptoms. Early antibiotic treatment usually resolves infections quickly.
Implant Mobility
Stability Concerns: A properly healing implant should feel completely solid and immobile.
Concerning Signs:
- Movement when touching: Implant or crown feels loose
- Rocking sensation: Feels unstable when pressing on it
- Pain with pressure: Hurts when biting or touching
Don’t Wait: Any mobility requires immediate dental evaluation to determine the cause and appropriate intervention.
Persistent Pain
Normal vs. Abnormal Pain: Understanding pain patterns helps you know when to seek help.
Normal Pain:
- Decreases steadily day by day
- Responds well to prescribed pain medication
- Mostly resolved within 7-10 days
Concerning Pain:
- Increases after initial decrease
- Severe pain not controlled by medication
- Sharp, shooting pains
- Pain that prevents eating or sleeping
- Persistent pain beyond 2 weeks
When to Call: If pain doesn’t follow the expected improvement pattern or suddenly worsens, contact your dentist for evaluation.
Special Recovery Considerations
Some patients have unique situations requiring modified recovery approaches.
Multiple Implants
Extended Recovery: Patients receiving multiple implants may experience slightly longer recovery periods.
Differences:
- More extensive swelling initially
- May take longer to return to normal eating
- Might need to stagger intense activities longer
- Overall healing timeline similar, just more area healing
Same Principles: Follow all the same care guidelines but be patient with yourself as your body heals larger surgical areas.
Bone Grafting Patients
Combined Procedures: If you needed bone grafting before or during implant placement, recovery includes healing both procedures.
Additional Considerations:
- Graft site needs to integrate before implant can be loaded
- May extend overall timeline by several months
- Even more important to avoid pressure on surgical site
- Excellent nutrition particularly crucial for bone development
Extended Timeline: Grafted bone typically needs 4-6 months to integrate before implant placement or loading, but creates a stronger foundation for long-term success.
Patients with Medical Conditions
Special Circumstances: Certain health conditions require extra monitoring during healing.
Conditions Requiring Extra Care:
- Diabetes: May slow healing; excellent blood sugar control crucial
- Osteoporosis: Bone integration may take longer; medication timing important
- Autoimmune conditions: Healing may be less predictable
- Blood thinners: Bleeding management requires extra attention
Close Communication: Keep both your dentist and physician informed about your healing progress and any concerns.
Warning Sign #9: Damaged Dental Work
If you’ve had crowns, fillings, or other dental work that keeps breaking, grinding might be the culprit.
Premature Restoration Failure
What You Might Experience:
- Crowns coming loose or breaking
- Fillings cracking or falling out
- Veneers chipping or debonding
- Bridges requiring frequent repair
- Dental implants facing excessive stress
Why This Happens: Dental restorations are designed to withstand normal chewing forces, but grinding generates significantly greater pressure. The constant stress causes premature wear and failure of even well-made dental work.
Financial Impact
The Hidden Expense: Without addressing the underlying grinding problem:
- You’ll continue replacing failed restorations
- Each repair represents additional expense
- Damage often worsens over time
- Eventually may require more extensive treatment
Protection Through Prevention: A custom nightguard protects both your natural teeth and your investment in dental restorations, potentially saving thousands in repair expenses over time.
Your Recovery Partnership with B-You Dentistry
At B-You Dentistry, we’re with you every step of your dental implant journey.
Ongoing Support
We’re Always Available: Questions during recovery are normal and expected.
Contact Us For:
- Questions about symptoms
- Concerns about healing
- Pain management issues
- Medication questions
- Any worries
Schedule Your Consultation
Considering Dental Implants? Learn about procedure and recovery expectations.
Contact B-You Dentistry
- Call: +1 470-866-5801
- Location: 5355 Laurel Springs Pkwy, Suwanee, GA 30024
- Serving: Suwanee, Johns Creek, Duluth, Sugar Hill, Buford